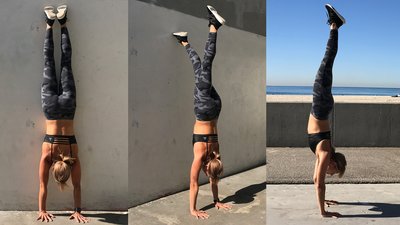
There's no doubt about it: Handstands are one of the coolest exercises you'll see while scrolling through your Instagram feed.
But unless you grew up as a gymnast, learning to do a handstand can be pretty difficult. Without the right techniques, you could waste years training for your handstand and never achieve it.
Rather than just kicking up and hoping for the best, use a wall to build up your strength, master progressively more challenging variations, and learn the techniques to help you train quickly and consistently.
Be smart about your handstand training and save yourself time and frustration down the line. Before you know it, you'll be rocking a freestanding handstand with ease!
Step 1: Build Strength and Endurance
The first step to mastering a freestanding handstand is to work on the wall. It may not seem very cool or impressive, but working your wall handstand helps build strength and endurance upside down. It's absolutely essential to helping you establish that solid handstand line.
Here are three strength-building exercises to help you get started:
Wall Hold
Instead of kicking up against the wall like most people do, walk your feet up the wall so your chest touches the wall. This makes it much easier to establish a straight handstand line at the very beginning. It will also help you avoid the bad habit of an arched "banana" handstand later.
To do this, place your hands on the ground with your feet on the wall, then slowly walk your feet up the wall until you become vertical. Your goal is to get your hands a few inches away from the wall. If you can't quite get that close to the wall yet, don't worry—part of this initial training is learning to understand the feeling of being upside down. It will get better with time and practice.
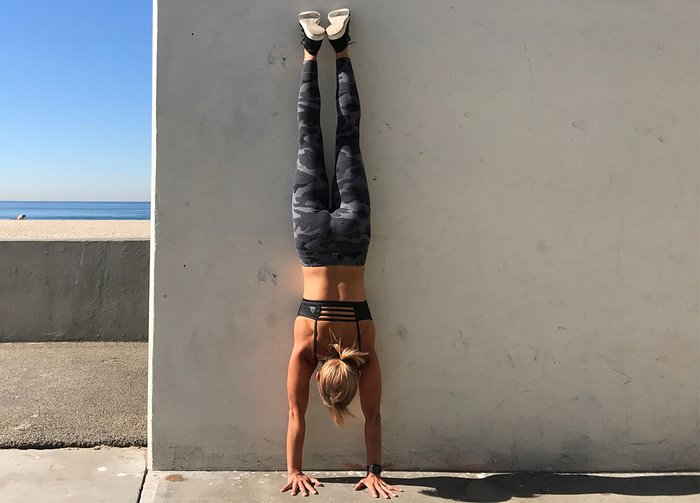
Once you reach the full upright position, tighten your core, pull in your ribs, and push up as much as possible through your shoulders. You should feel like you're pushing the floor away from you.
Next, point your toes, engage your glutes and quads, and hold! Try to do at least three sets of wall holds and time yourself to track your improvement. Eventually, you should aim to hold each wall handstand for a minute or more.
Wall Walk
Wall walks are another great exercise to help build up your strength and endurance in a handstand, while acclimating you to the feeling of being upside down. Once again, walk your feet up the wall so that your chest is close to the wall, then pick your hands up and "walk" sideways in one direction along the wall.
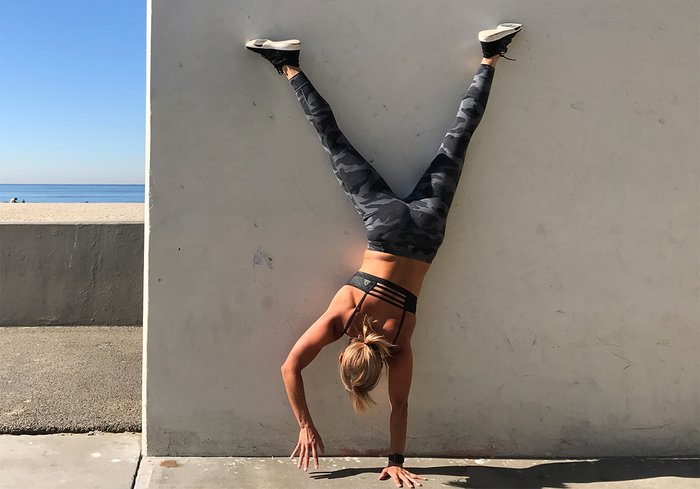
You can straddle your feet for balance—this also makes it slightly easier to understand the movement. Keep walking in one direction, then switch and walk back to where you started to keep the work even on both sides. Don't forget to push up through your shoulders and keep your core tight during the exercise.
Shoulder Touch
This is another great upper-body and core strengthener that really helps you focus on that shoulder push, a necessity for proper handstands. Plus, shoulder touches can help prepare you for a one-arm handstand way down the line.
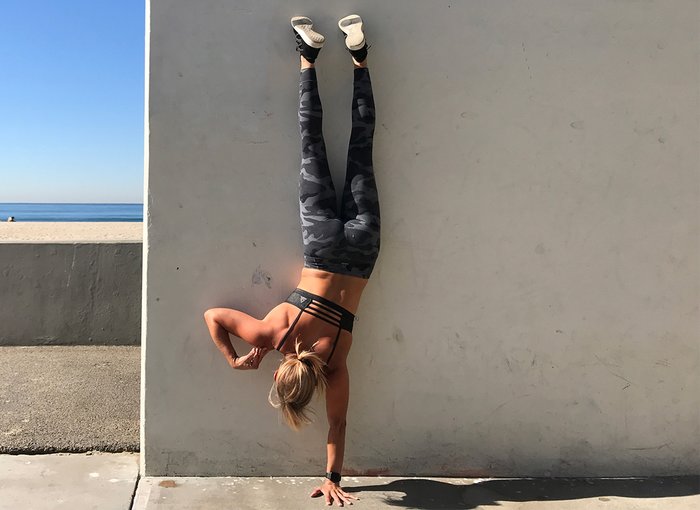
Once you're in a handstand against the wall, lean slightly to one side as you slowly pick up one hand. You can start by just lifting your fingertips to gain a feel for the movement, then eventually lift your hand up and tap your shoulder on the same side. This is a great exercise to do for time or reps in addition to your wall holds. Once you feel more comfortable being upside down and can hold your wall stand for at least 30 seconds, start working on the balance portion of the handstand.
Step 2: Use the Wall for Balance
Rather than going straight to freestanding once you've built your baseline handstand strength, keep using the wall as a helpful tool to help you master your balance and understand the proper handstand line.
Start by walking up the wall into a handstand. Make sure everything is tight and push up through your shoulders.
Next, walk your hands away from the wall so that they're about a foot away. Your hips should still be over your hands.
Slowly remove one foot from the wall and balance it overhead so that your shoulders and hips remain in a straight line. It's OK if your leg goes slightly past your hips—just make sure to focus on your hips being directly over your shoulders.
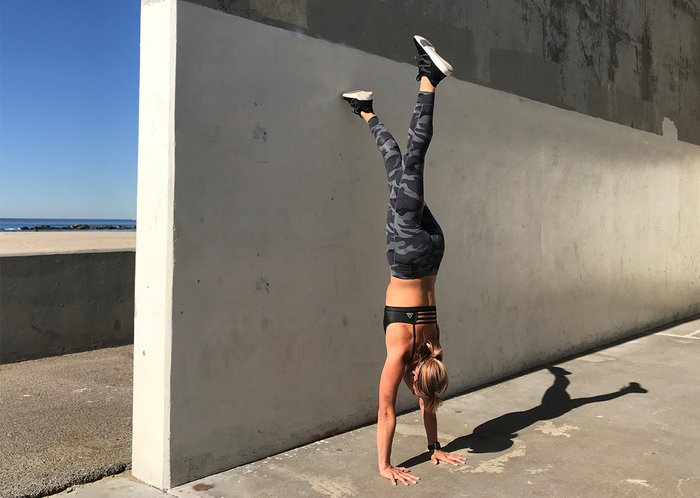
With as much control as possible, slowly remove the other foot from the wall and try to balance through your fingers and hold your handstand briefly. If you fall backward, put your feet back on the wall. If you fall forward, you can cartwheel out. Part of training for freestanding handstands is learning that falling is OK!
Very slowly split your legs back and forth, working to feel the balance in your fingertips and the alignment in your shoulders and hips.
Pro Tip: Film yourself during this exercise to regularly gauge your progress and make sure you are maintaining the proper alignment. Gaining balance takes time—don't rush the process.
Step 3: Freestanding Practice
Before you start working your freestanding handstands, you should be able to hold a handstand against a wall for at least 30 seconds. The longer you can hold it against the wall, the easier building up to freestanding handstands will be.
Experiment with either kicking into a handstand or tucking your legs up. Most people will find kick-ups easier since tucking up takes quite a bit of upper-back and shoulder flexibility.
While learning to kick your legs up into a handstand, go slowly! This technique takes a lot of experimentation. If you don't kick hard enough, you won't make it to a vertical handstand, and if you kick too hard, you'll fall or cartwheel over. This step takes time and practice, so be patient.
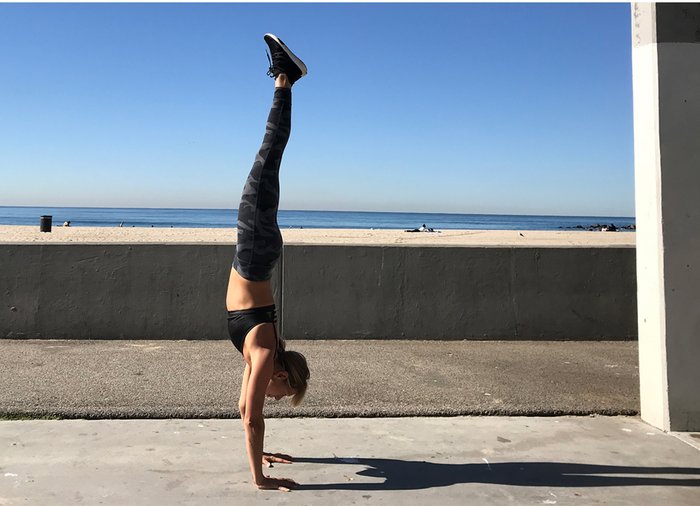
When you do finally feel ready to start training your handstands away from the wall, don't stop your wall training altogether. Once you get to a freestanding level, try to spend about half of your time practicing your handstand on the wall and half of your time working on kicking up into a freestanding handstand.
Even the best hand balancers still work on the wall to gain even more strength and endurance, and work on perfecting their handstand line. Only when you get really consistent holding your freestanding handstand for a minute or more should you start spending most or all of your time off the wall.
Consistency is Key
If you're serious about being able to hold a freestanding handstand, you'll need to practice nearly every day, even just for 5-10 minutes at a time. Be consistent, and you'll be rocking your freestanding handstand before you know it!
If you're looking for a total-body calisthenics program to increase your strength and abilities in gymnastic exercises, check out Bodybuilding.com All Access for a complete list of bodyweight programs such as Total Fitness, Ripped Remix, and Triple Threat.

